Stunning Paint Kitchen Island Ideas for a Fresh Look
Imagine walking into a kitchen where the island shines in a deep navy that contrasts beautifully with white cabinetry. You might be surprised at the impact a simple paint job can have on the overall feel of your space. From bold colors to soft hues, there are endless possibilities to investigate, each bringing a distinct personality to your kitchen. Plus, when you consider the techniques and styles that enhance an island’s appearance, you’ll find there’s much more to it than just a fresh coat of paint. What will inspire you next?
Trending Color Schemes
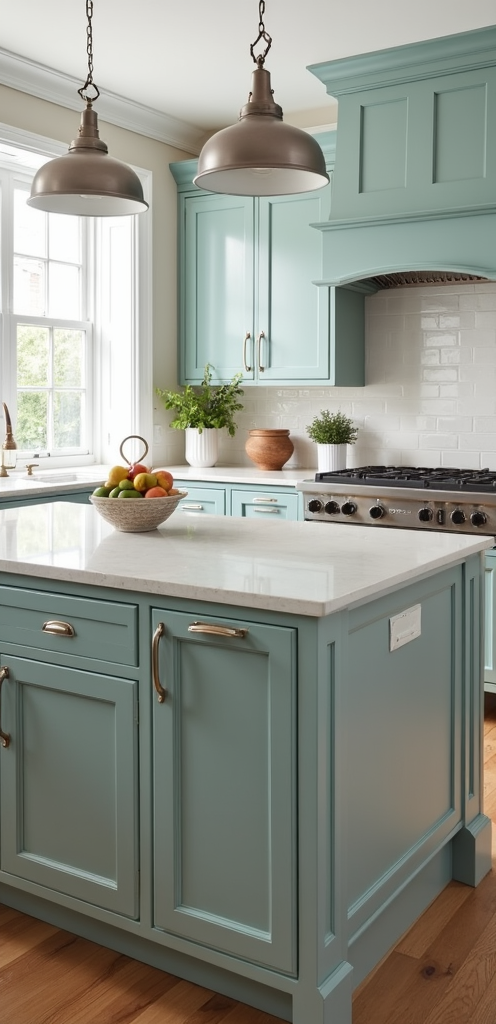
In the domain of kitchen islands, trending color schemes can transform your space into a stylish focal point.
You’ll want to reflect on shades like deep navy for a bold statement or warm beige for a more inviting feel. Soft pastels, like mint green or pale pink, add a touch of charm and freshness. If you’re aiming for elegance, think about classic black or rich charcoal, which can create a sophisticated vibe.
Don’t forget about two-tone options; pairing darker bases with lighter countertops can add depth and interest.
Accessories, like bar stools or decor, should complement your chosen colors. By selecting a trending scheme, you’ll not only improve your kitchen but also create a space that reflects your style and meets functional needs.
Preparation Steps for Painting
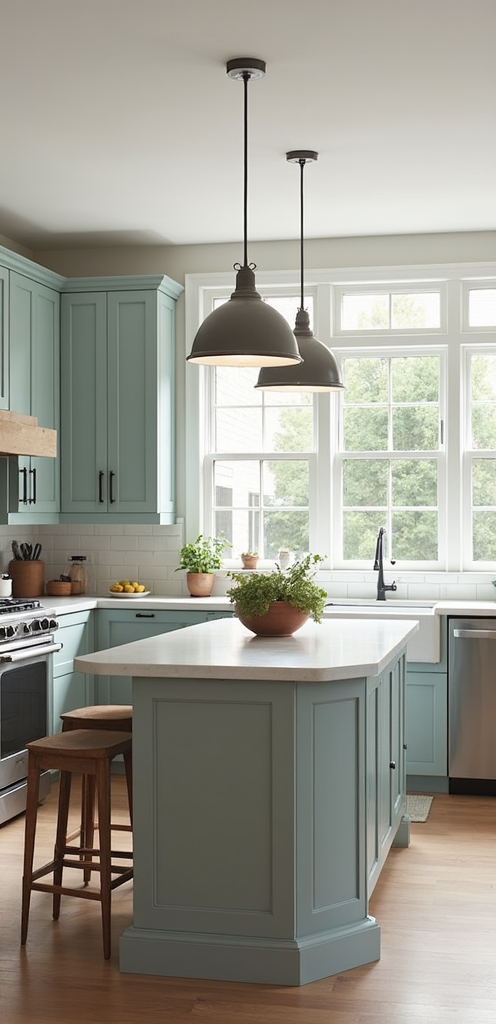
Getting your kitchen island ready for a fresh coat of paint takes a few essential steps to guarantee a smooth finish.
First, clear off the island completely. Remove everything, including any hardware.
Next, clean the surface with a degreaser to remove dirt and grease.
After that, sand the area lightly to help the paint stick better. If you see any old paint chips, scrape those off too.
Once you’ve cleaned and sanded, fill in any cracks or holes with wood filler.
Allow it to dry and then sand it flush with the surface.
Finally, wipe down the island again to remove any dust.
Following these steps assures you’ll have a well-prepped surface for painting.
Essential Painting Techniques
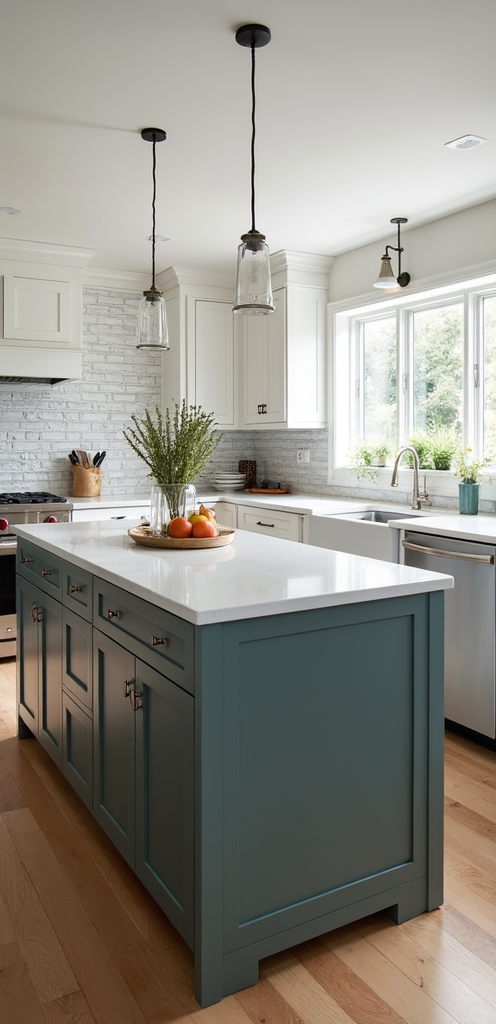
Once your kitchen island is properly prepped, it’s time to focus on the application process.
Start by selecting the right paint type—acrylic or oil-based works best for durability. Use a high-quality paintbrush for edges and corners, and a foam roller for larger areas to guarantee an even finish.
When applying, work in thin coats; it’s better to do multiple light layers than one heavy coat. Allow each layer to dry completely before adding the next.
Don’t forget to sand lightly between coats for ideal adhesion.
Finally, let your final coat cure for at least a couple of days before using the island. This way, your effort pays off in a beautiful, long-lasting result.
Creative Design Inspirations
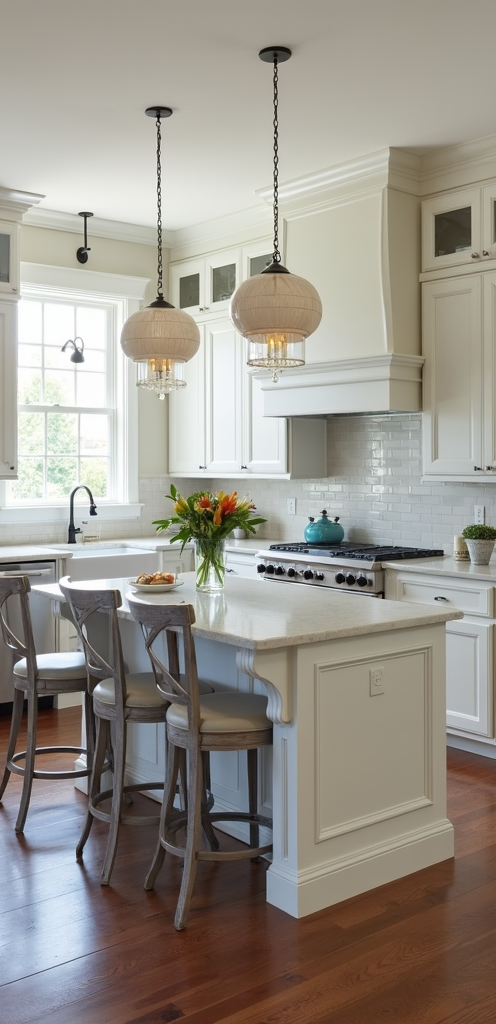
Regarding transforming your kitchen island, creative design inspirations can spark your imagination and improve the space.
Think about using bold colors to create a statement. For example, a deep navy blue or vibrant green can raise the island’s look. You might also consider adding two-tone paint. This approach involves painting the base one color and the top a different shade, which adds dimension.
Another idea is to incorporate patterns. Geometric designs or stripes can make your island a focal point.
Finally, consider the use of chalkboard paint for a fun, interactive surface where you can jot down recipes or shopping lists.
These ideas can help you reimagine your kitchen island and make it distinctly yours.
Textures and Finishing Touches
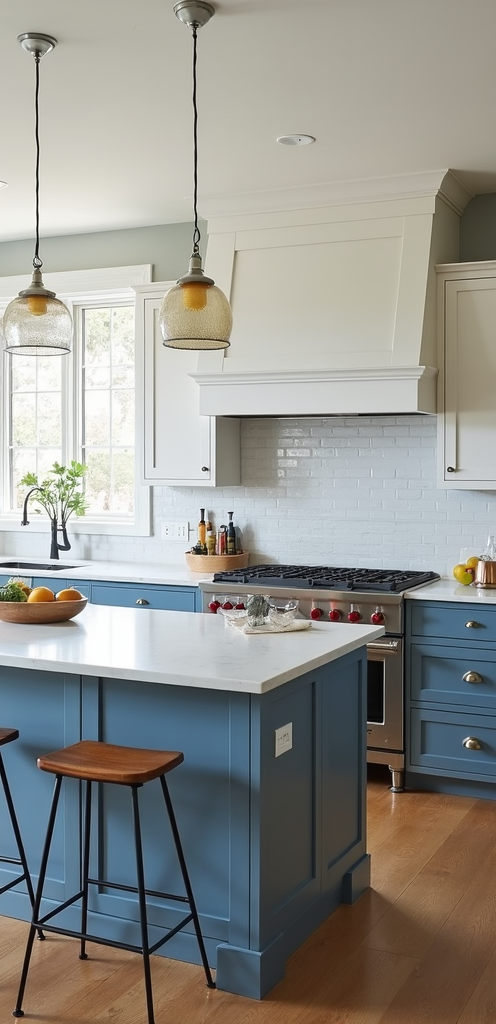
While enhancing the visual appeal of your kitchen island, textures and finishing touches play an essential role in bringing your design to life.
Consider using various materials like wood, metal, or stone. Each material adds a distinct texture, inviting touch and visual interest. For instance, reclaimed wood lends warmth, while sleek metal offers a modern vibe.
You can also incorporate paint finishes, like matte, glossy, or distressed. A glossy finish reflects light, making your island pop, while a distressed look can add character.
Don’t overlook hardware choices; knobs and pulls in unique finishes can truly uplift the overall style.
Finally, accessorize with items like stools or decorative trays to tie everything together. Each detail helps create your perfect kitchen environment.
Maintenance Tips for Longevity
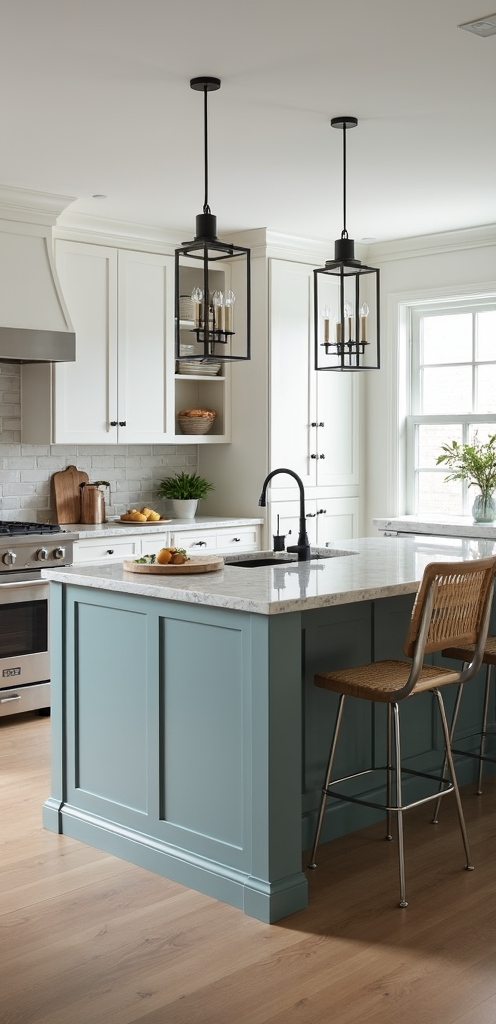
To guarantee your kitchen island remains a stunning centerpiece for years to come, regular maintenance is essential. Start by wiping down your island with a damp cloth to remove dust and stains. Use a mild soap if necessary. For painted surfaces, avoid harsh chemicals that can damage the finish.
Once every few months, consider applying a wood conditioner or touch-up paint if you notice chips or wear.
If your island has a countertop that requires sealing, do this every six months to a year. For busy islands, use coasters and cutting boards to protect the surface from heat and scratches.
Finally, inspect your island regularly for any loose hardware or joints to keep everything secure and in place.
Before and After Transformations
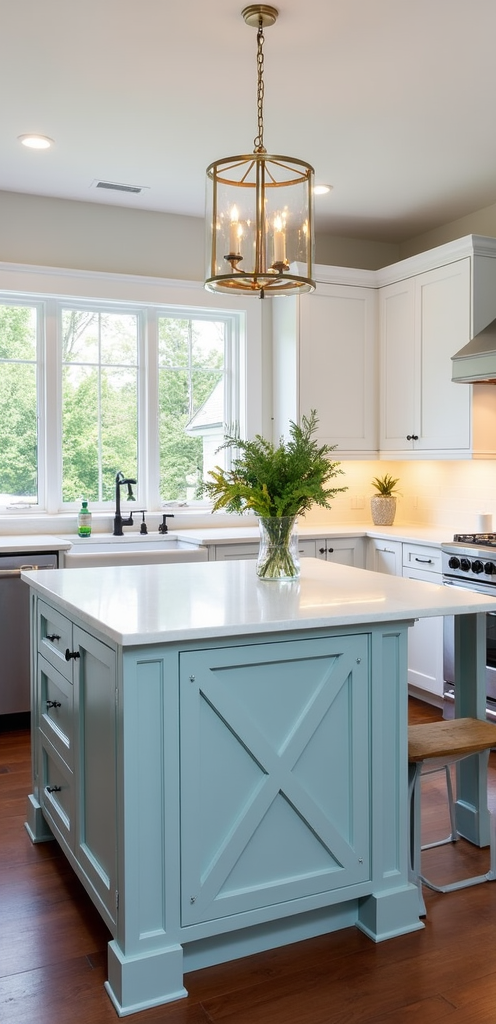
Regular maintenance not only keeps your kitchen island looking its best, but it can also set the stage for stunning transformations.
Consider the effect of a fresh coat of paint. By simply changing the color, you can dramatically alter the island’s appearance. For instance, a weathered oak island can become a chic navy blue feature.
To achieve this, start by sanding the surface to remove old finishes. Next, apply a primer for better paint adherence. Once dry, choose your preferred color and apply at least two coats for an even finish.
Finally, seal with a protective topcoat to prevent wear and tear. These transformations can rejuvenate your culinary space, making it more inviting and stylish with just a bit of effort.

